Today I made a pretty pajama and top for my daughter. I actully did not think of making a top but I went with the flow. It turned out pretty and she is so happy. I will try to make another tutorial for this as it is fresh in my mind. If anybody has problems following the directions aor any doubts please leave a comment and I will try to explain as much as possible.
These days my daughter is fascinated by Minnie Mouse (Minnie Mouse Bowtique) and she wanted me to make a minnie mouse dress, so when I went to Joann a few days back I saw this pretty minnie mouse fabric and got it. I had a perfect outfit for it and made night pajamas with them. I designed the pants pattern my self using her old pants and the top was just a rectangle piece from the leftover fabric.I just bought 1 yard of fabric which was enough for the design I had in mind.
Tutorial:
Materials needed are 1 Yard of fabric of your choice.(get a little more than a yard as it might not be enough for the top)
Ribbon for the top
Elastic(In Joann they have different colored elastic) I used red for this project.
Step 1: I used one of her pants that fit her nice, yet long enough for her, I made a patten . I traced around the pants on the newspaper and cut the paper .Using the pattern I made I cut the fabric.When you are cutting,fold the fabric in such a way where the the ends meet in the middle.

Step 2: After cutting serge or sew around the crotch and the inside of the legs together.


Step 4: So now you should have something like this.

Step 5: If you want to make casing on the top of the pajama for elastic make sure you have extra 1 inch as you can insert the elastic, but I want it to look more professional, so I mearsured around my daughter's waist with elastic and added 1/2 inch to it. So it won't be too tight(she hates it when he pants are a bit moe snug than usual). I stitched the elastic together and then on to the pajama. Iron and top stitch it . Now you should have something like this. Hem the bottom part of the legs and you have Pajama ready.

Now on to the top,this was pretty simple as it involves very less cutting.
Step 6: For top I mearsured a rectangle measuring 34 x15. I wanted to make it as a summer suntop. Sew the two ends together.On the top side, make a casing for the elastic. I first serged the fabric and then,Sew around. Insert the elastic and sew the open end elastic together and sew the opening too.The elastic should be snug but not too tight.


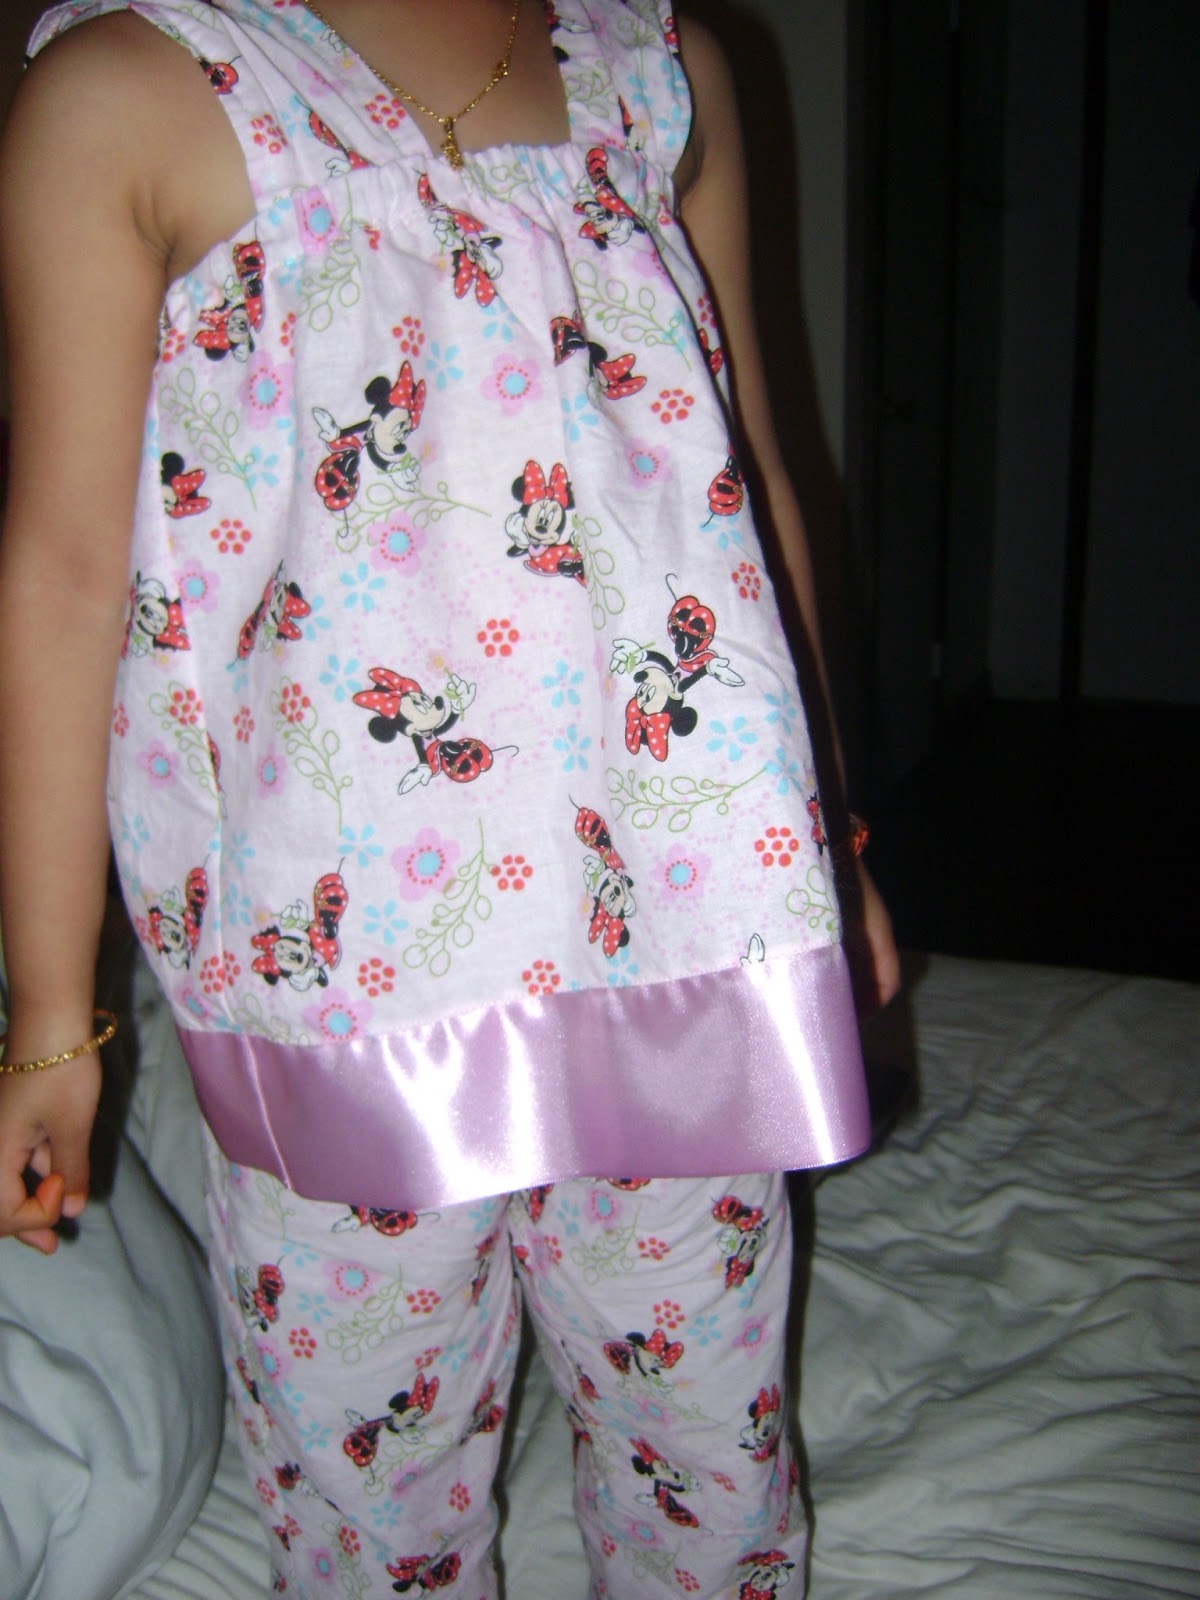
Step 8: I added ribbon around as I wanted it to be long. I got the ribbon from Joann. I first measured and then cut it. Pin it and sew around. you should have it like this.

Step 9: Always top stitch to give it more professional look.

Now you can put it on your model and see her enjoying her new minnie mouse pajama set.

No comments:
Post a Comment